OCTO:Open Core for Technology Orchestration/Octo Admin
Open Octo Admin
Octo admin is a plugin to manage Octo users, organizations, authentication, email config and templates and more, just in one place.
To be able to use the admin plugin you need the Octo Admin token. This token is stored in the Octo server in the file access_token.js. Depending on how Octo server has been installed, the location of the file can differ. Taking the installation directory of Octo server it will be in ../octo-server/config. For docker type installations see the section Getting the Admin token, that explains how to get the Admin token if you are using docker-compose or Kubernetes.
Be careful when exposing the Admin token as any registered Octo user can use the token to access the Admin plugin.
Open the Octo Admin plugin
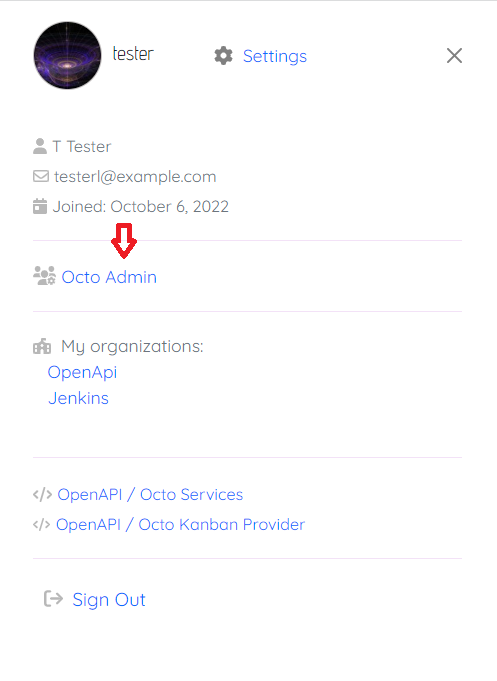
- In the top-right corner of the page, click your avatar to open the dropdown menu.
- Click the Octo Admin link. This will open the Octo Admin in a new page.
Please note that Octo Admin is also a plugin, so it can be installed just like any other Octo plugin.
Organizations Admin
Octo supports the multi-tenancy architecture. You can have your own Octo organization for more data isolation and sealing.
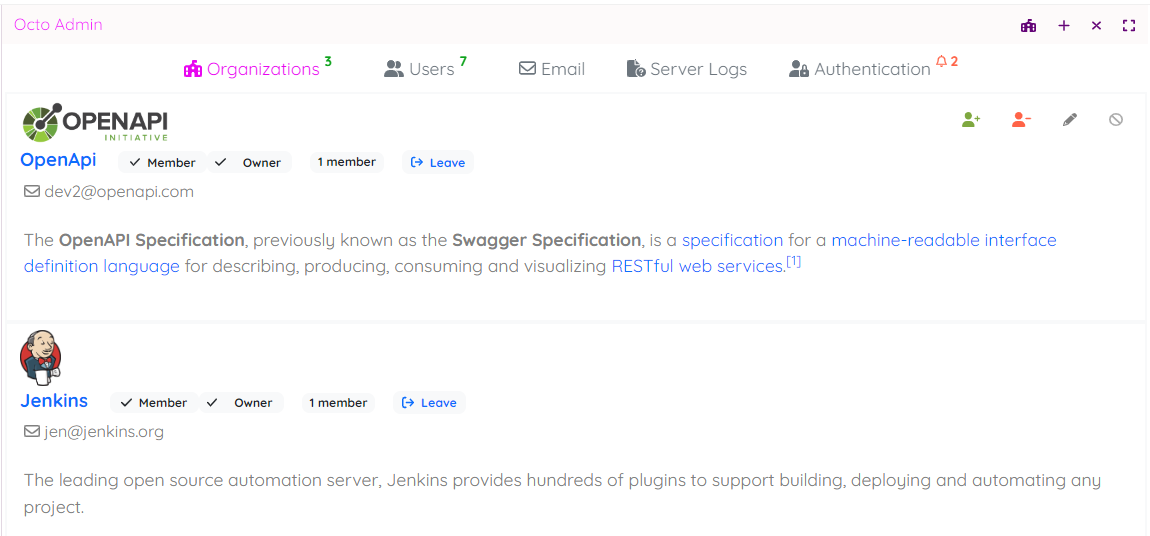
In the Octo admin, the first tab is dedicated to Octo organization management.
In this Organizations Admin section, you can create and manage Octo organization(s).
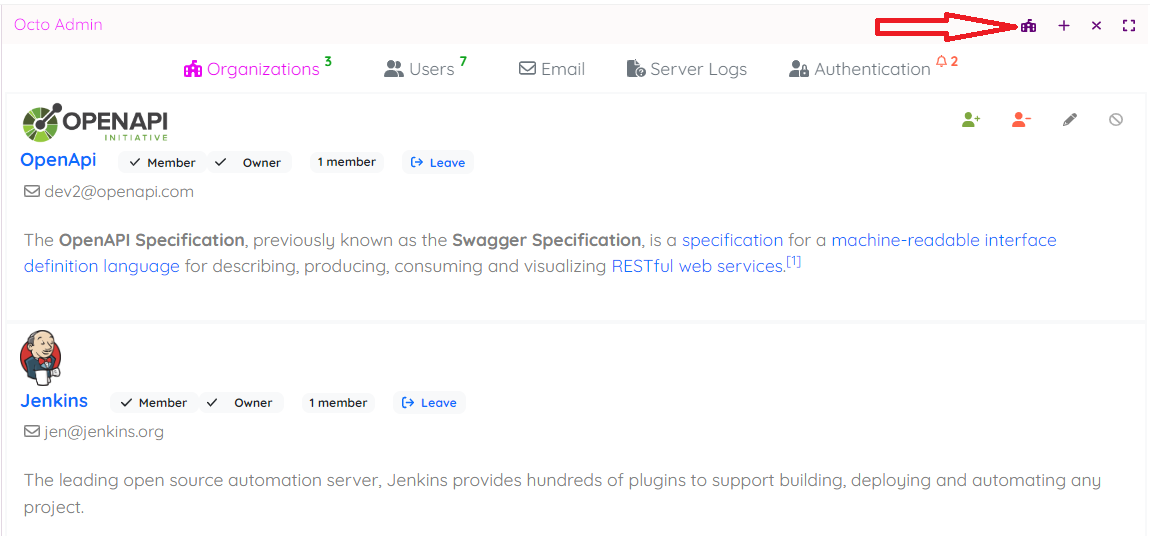
Create new organization
You can easily create a new organization using the local toolbar:
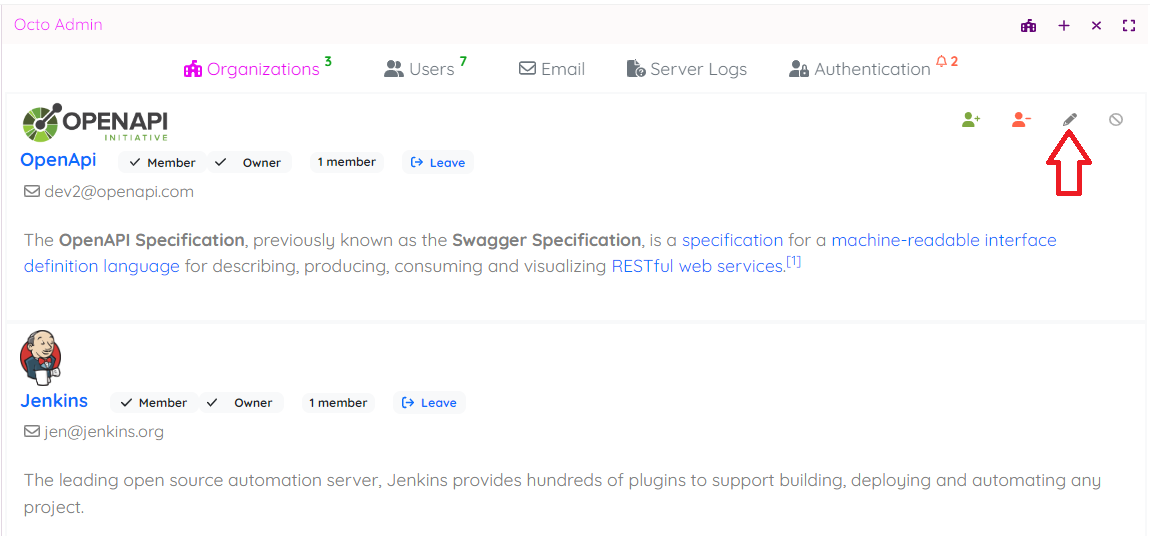
Edit organization
You can edit an existing organization by hovering over it and selecting the edition button:
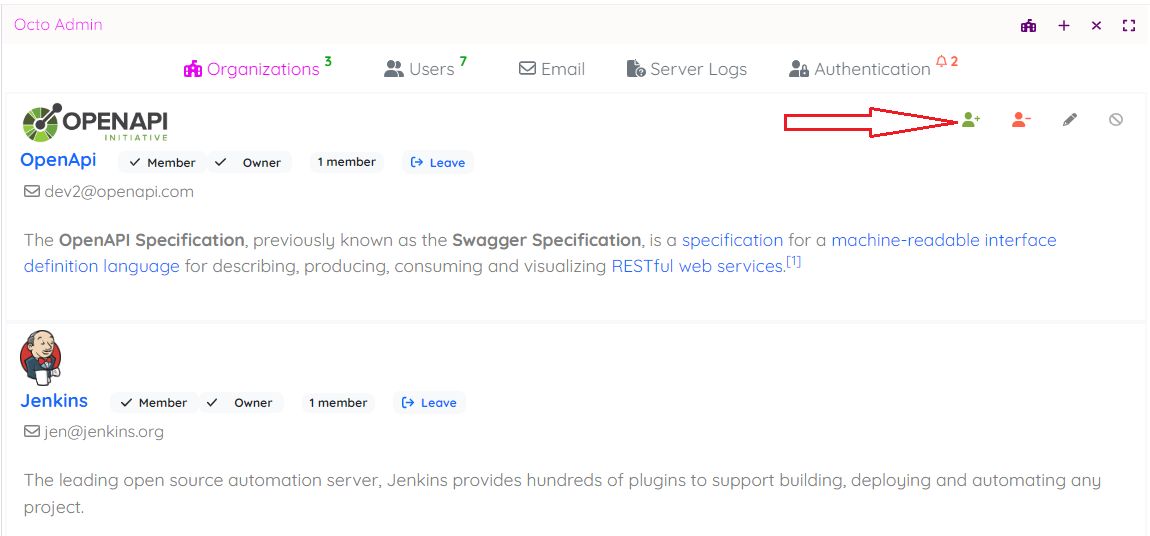
Add new members to organization
Click first the members addition button then select either to add members by searching in the current Octo users or by sending an invitation link.
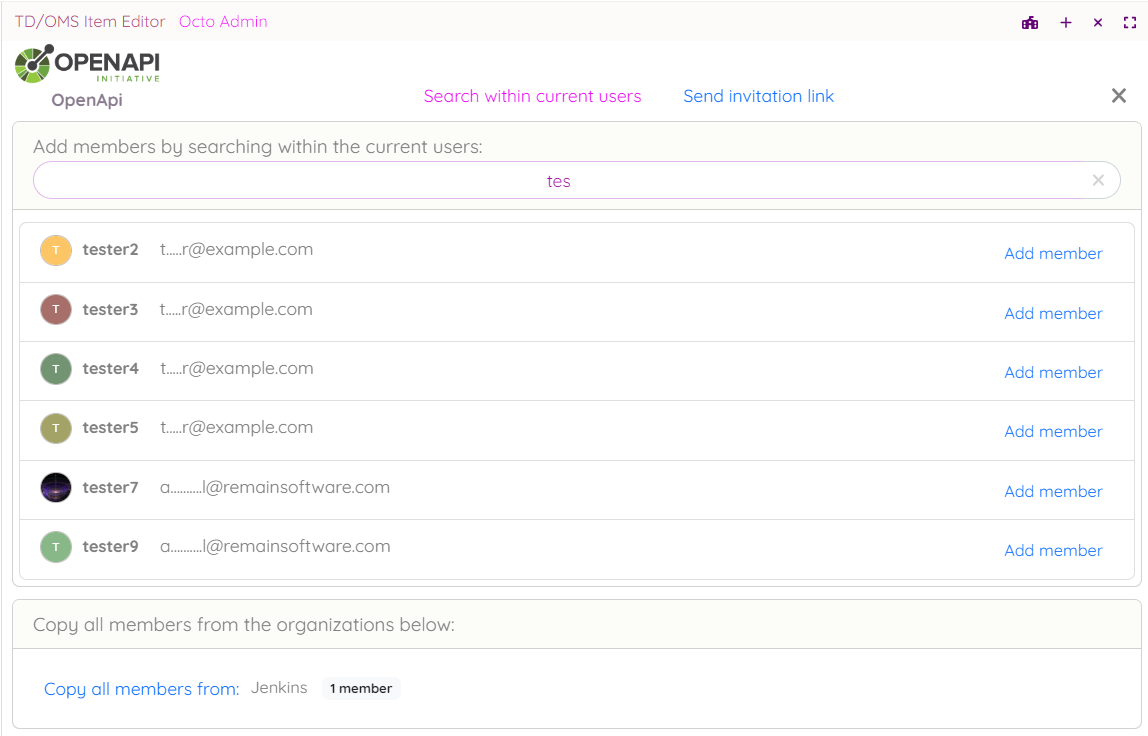
Add members by searching users
Use the search box to look up users you want to add. Click the Add member right to the user you want to add.
By using the section beneath the search section, you can also copy members from an existing organization (you also own) in one go. Octo will copy only non-existing members.
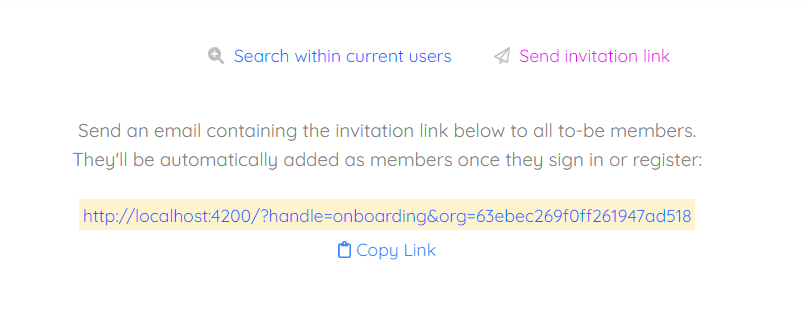
Add members by invitation
You can also add members to your Octo organization by inviting them. To do so, copy the invitation link and send it to them. This link will automatically add the receiving to-be- member to your Octo organization once they click it and sign-in or sign-up to Octo.
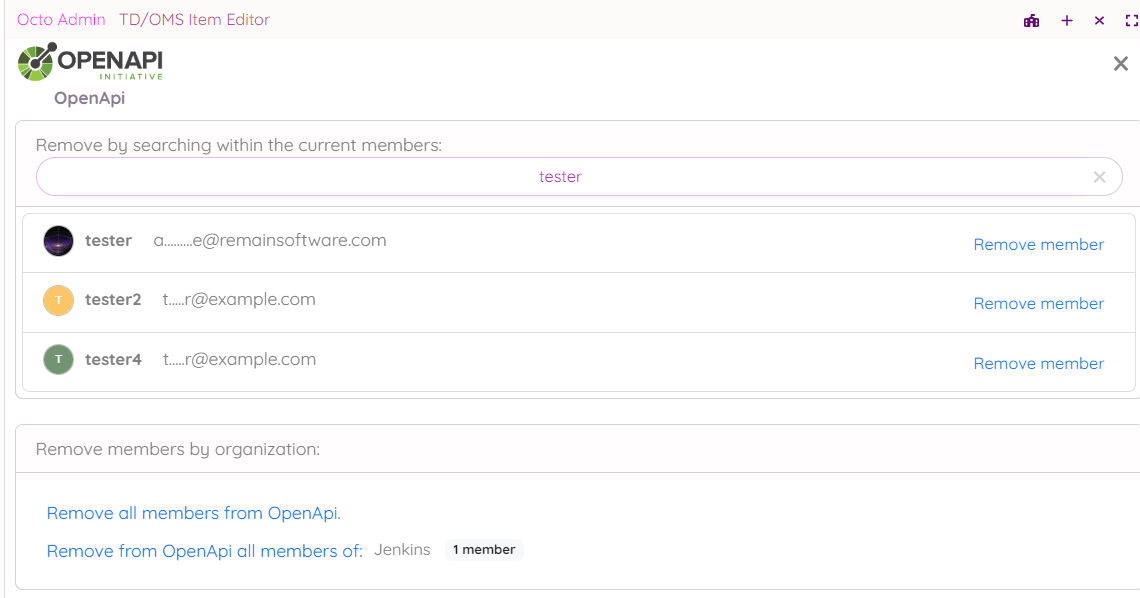
Remove members from organization
Handle members removal from your organization by hovering then clicking the deletion icon. The search for members you want to remove from your Octo organization and hit Remove member on the right of the member.
By using the section beneath the search section, you can also remove all members belonging to another organization in one go.
Organization owners
As owner, you have full control over the Octo organization you own. You can edit, add and remove members of this organization. You can also add and remove other owners.
As the creator of an organization, you become automatically its owner and you have all the privileges an owner has.
Add owners to an organization
To add a new owner to an Octo organization, click the link owners in that organization section:
You'll be prompted with a view where you can see current owners. Use the search box at the top of the view to find new users you want to add by the button Add owner at the right of each user you want to add.
Remove owners from an organization
To remove owners from an Octo organization, click the link owners in that organization section:
You'll be prompted with a view where you can see current owners. You can also use the search box at the top of the view to find new users you want to remove. Click the button Remove owner at the right of each owner you want to remove.
Users Admin
Users Search
In Octo Admin, the second tab is dedicated to managing Octo users.
In this Users Admin section, you can search for and manage Octo users. In the search results, you can see the following details for each user:
- Whether the user's email is verified
- Whether the user has verified 2FA authentication
- Whether the user is using 2FA
- The organizations the user has created
- The organizations the user belongs to
- The local menu on the right
User Account Admin
Using the context menu that appears when you hover over a user section, you can disable or enable a user account Octo-wide, disable a user's 2FA, and delete a user account.
Email Admin
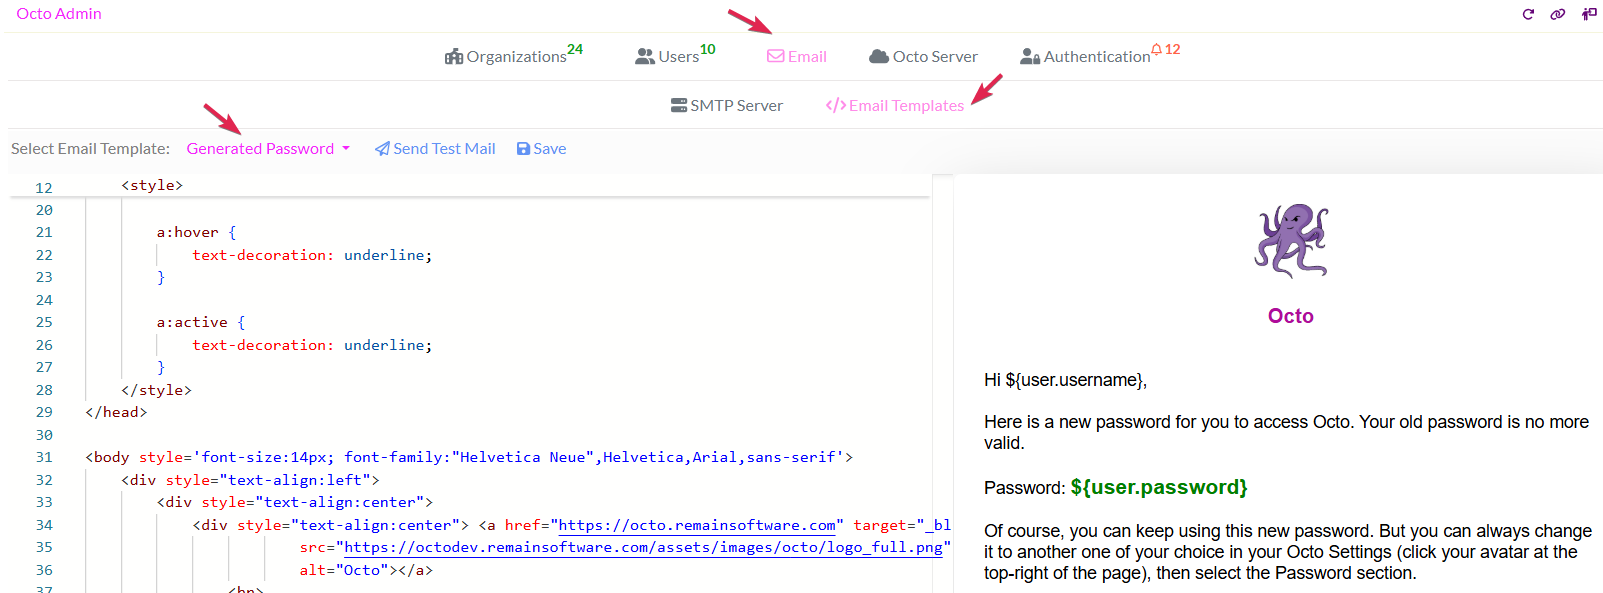
In Octo Admin, the Email tab is dedicated to configuring Octo's SMTP server settings and editing email templates.
Email SMTP Settings
Octo will use this SMTP server to send emails for purposes such as email confirmations and password resets. To configure the SMTP server, select the SMTP Server tab and fill in the required settings. At the bottom, there is a Help button that provides a guided tour with more details about these input fields.
Email Templates
Octo uses email templates for various purposes. In the templates dropdown, you can select and edit templates. Once saved, the changes take effect immediately.
You can use the Send Test Mail button to send a test email and see how the selected template will appear in your email application
Octo Server
In Octo Admin, this tab focuses on the Octo server itself, including viewing server logs and managing server environment files
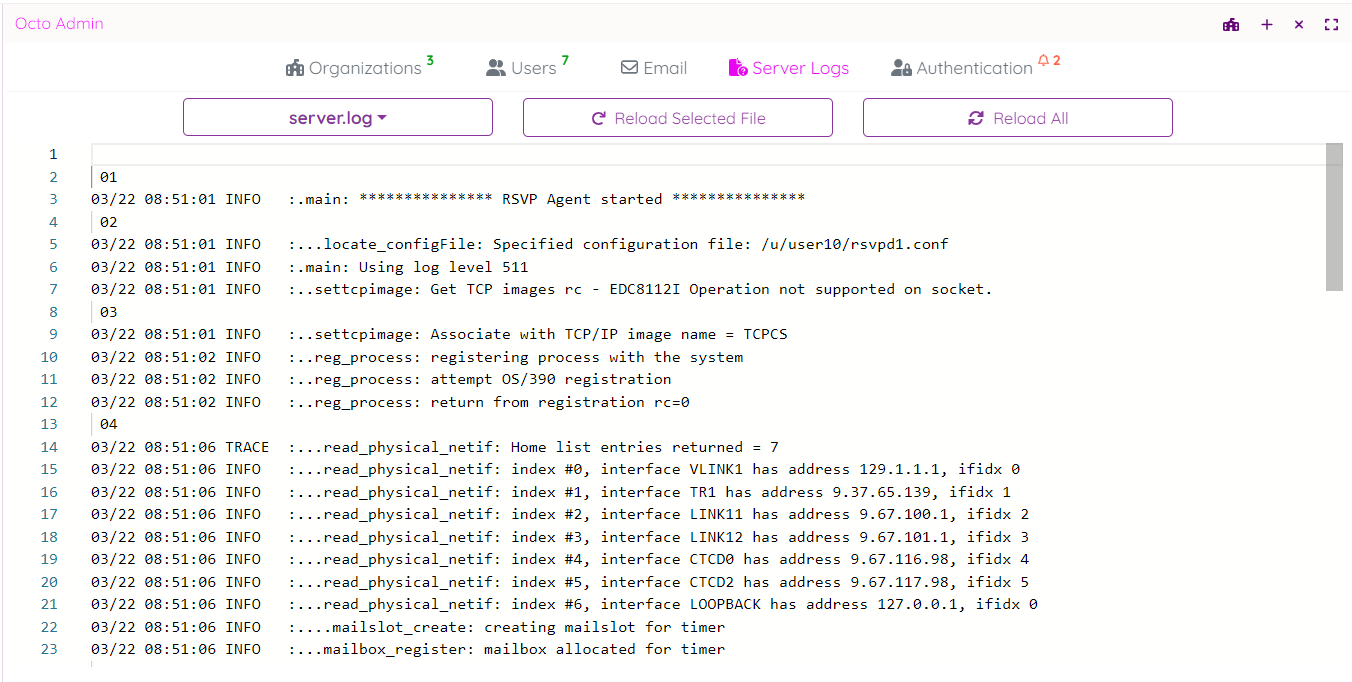
Server Logs
In this Server Logs section, you can view the remote on-file-system run-logs of the Octo server. Select the server log you want to view from the logs dropdown.
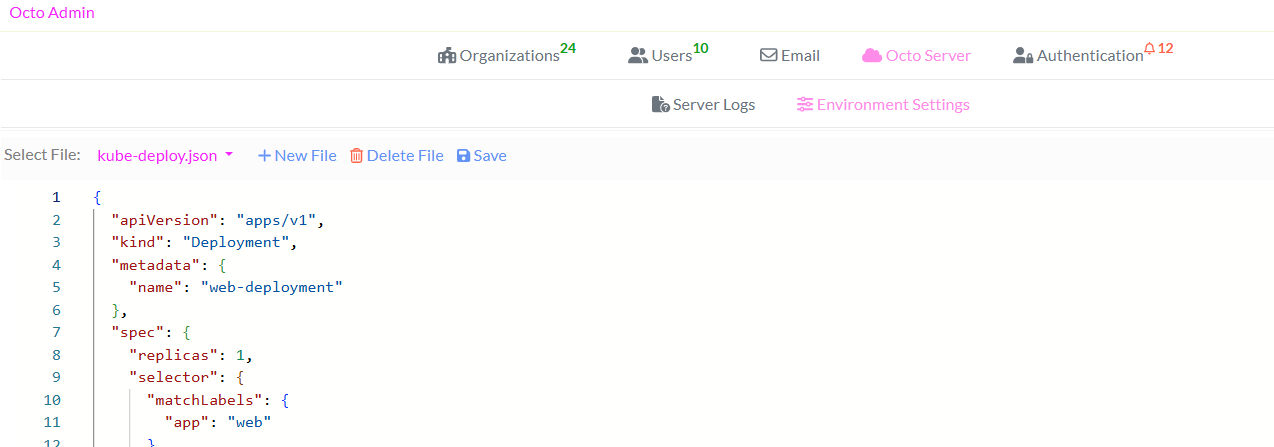
Server Environment Files
You can now add, edit, and delete Octo meta configuration files, such as deployment variables, directly from Octo Admin.
Authentication Admin
In the Octo admin, the fifth tab is dedicated to users authentication.
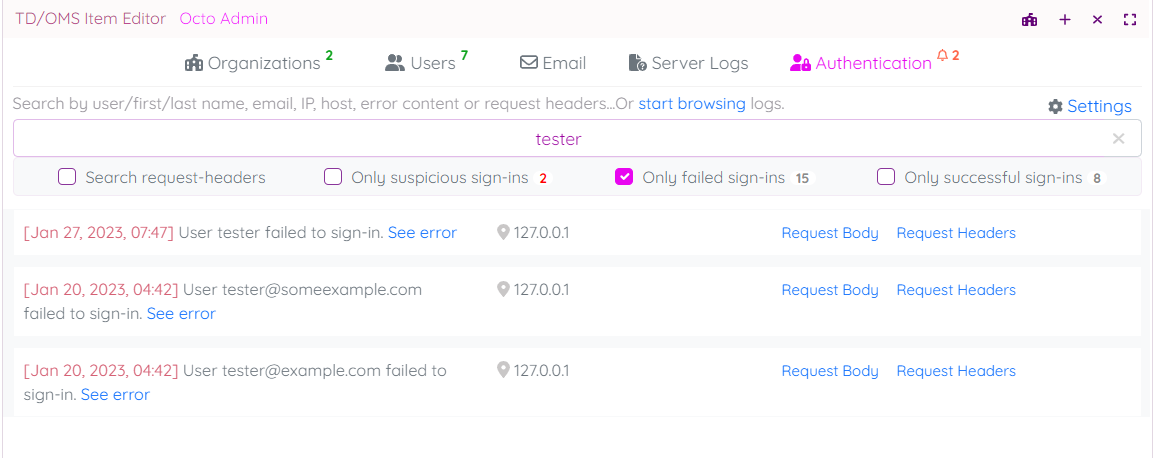
In this Authentication section, you can search and view users sign-in activities and statues for authentication and security purposes.
Under the search box, you can filter out results by un/selecting check-boxes as explained below:
- Search request-headers to include the sign-in logs headers in the search.
- Only suspicious sign-in to show only sign-in logs marked as suspicious. Use it with or without filling the search box
- Only failed sign-in to show only failed sign-in logs. Use it with or without filling the search box
- Only successful sign-in to show only successful sign-in logs. Use it with or without filling the search box
The options Only failed sign-in and Only successful sign-in are each other exclusive.
- By clicking the Settings button in the top right of the search box (see screenshot above), you can access a settings sub-page.
- This sub-page allows you to configure the periodic purge of sign-in logs and set up alerts for sign-ins from different IP addresses or locations.
- For more details about these settings, please click the Help button as shown in the screenshot below.
