CDM:Prerequisites
Prerequisites
The following is necessary before installing Client Deployment:
- IBM OS/400 V5R1 or later installed on your iSeries
- TD/OMS 5.0 M00 or later installed on your iSeries
- TD/OMS GUI Server software installed on your iSeries
- A PC with Windows 98 SE, NT4.0, 2000, XP Home or XP Professional installed. Windows 98 and NT4.0 however are not preferred, because they are not supported anymore by Microsoft.
The latest servicepacks for these operating systems should be installed as well to ensure problem-free results. The PC must have a working TCP/IP connection to your iSeries, with at least 2 TCP/IP ports free to use (the default ports Client Administration uses are 45029 and 45030, but in general you are free to choose different ports).
Installation
The installation is done by running the OMCDE.exe installation program from the TD/OMS Product CD.
The installation procedure should be self-explanatory. Below you will find an description of the steps to be performed.
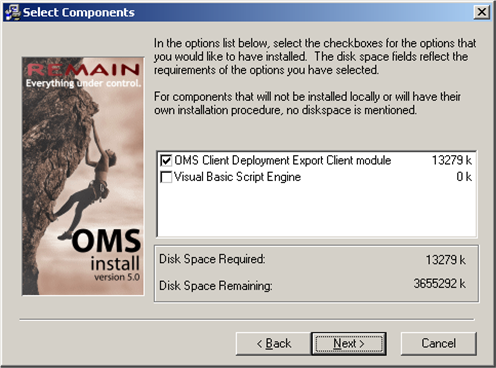
After starting OMCDE.exe, you will be presented with some general introduction screens. Clicking "next" a couple of times will get you to the first screen with choices on it, where the modules to be installed have to be selected:
The first selection is one you would always want to choose, being the main application.
The second one, "Visual Basic Script Engine" may be necessary if for some reason Internet Explorer is not installed.
Click next. The following screen will appear:
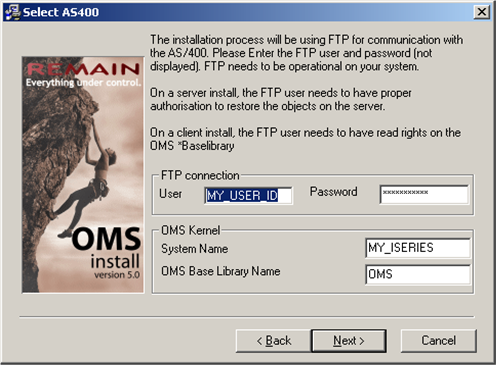
A FTP connection is used to retrieve some general installation information from your iSeries, for instance where your TD/OMS kernel resides. Enter the appropriate information and click next.
The following screen will appear:
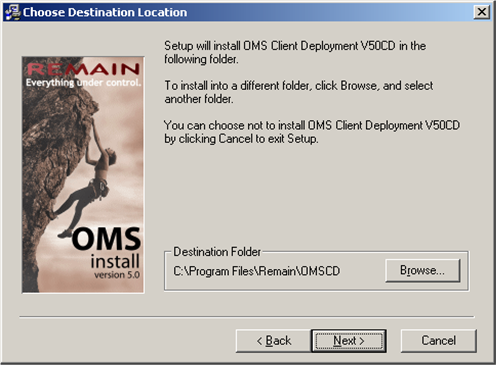
This is to define the installation directory of the application on your PC. Click next.
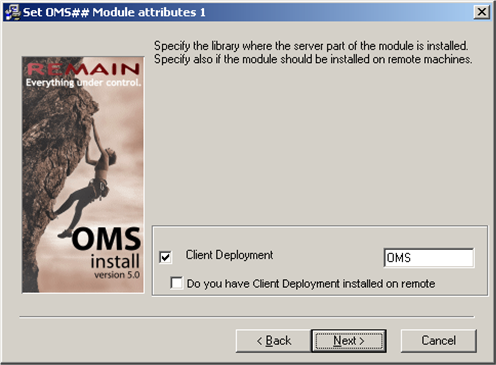
The following screen is used to indicate the library where the Client Deployment server module is installed.
Normally, this should be your TD/OMS installation library. Click next. The following screen appears:
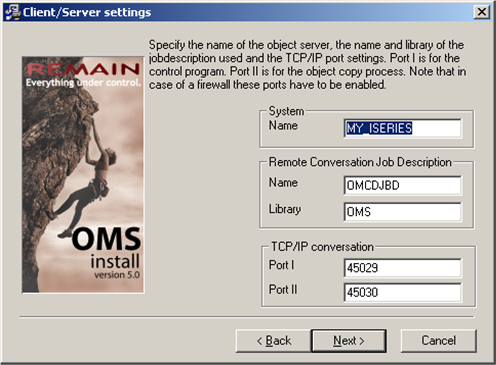
This is the screen where the information for the TCP/IP connection is entered. This includes the remote server name, the information for the job description to be used and the ports for the connection. These two ports should be the same as you defined before when installing the server part of Client Deployment.
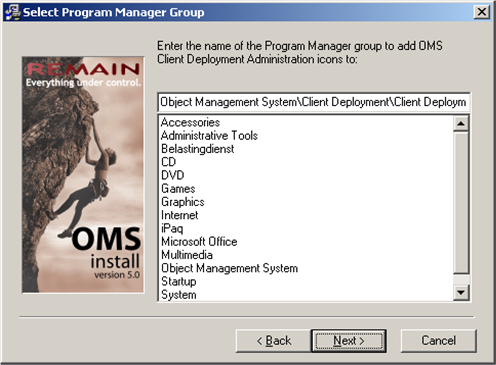
Click next, which will make the next screen visible. This is to define the place of the Start menu icons.
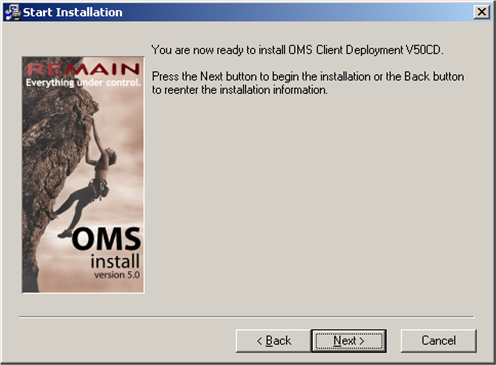
Clicking next will get you to the final installation screen:
You are now one click away from installing Client Deployment. Using the cancel button will abort the installation.

