PTFI:GUI Installation
GUI Installation
This section describes how to install the TD/OMS graphical user interface client. The client consists of Eclipse plugins that can be installed as a standalone client (RCP) or embedded in the RDi, RTC or Eclipse clients. It is advised to close the TD/OMS workmanagement perspective and any open TD/OMS view before performing an update of a embedded installation.
TD/OMS GUI installation
You can choose how to install the TD/OMS GUI. You can install the GUI in one of the following ways.
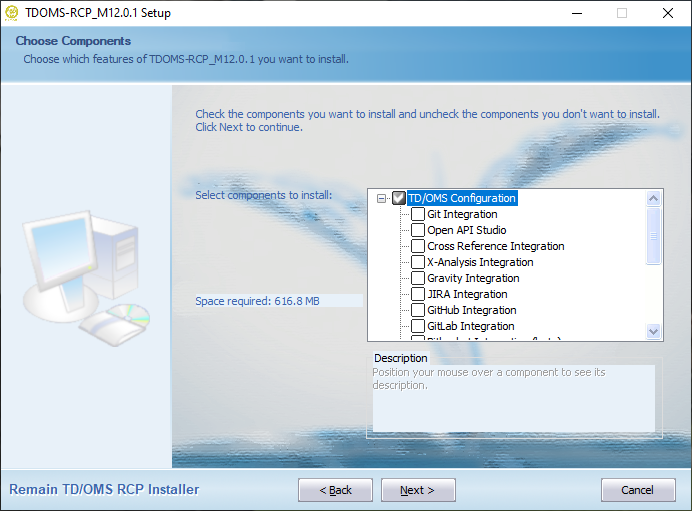
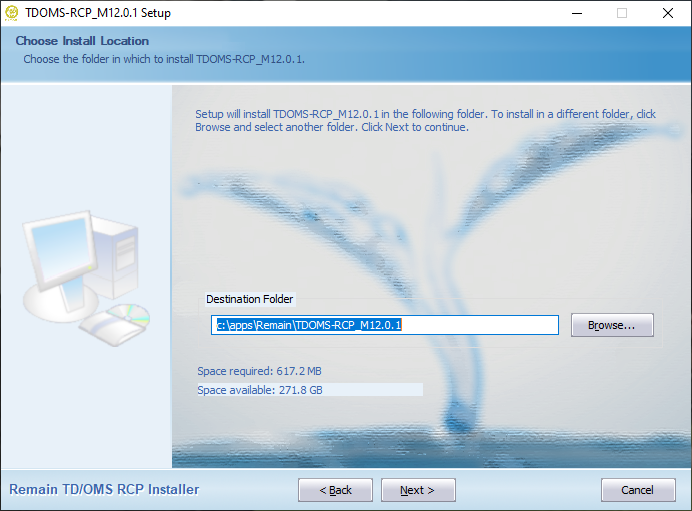
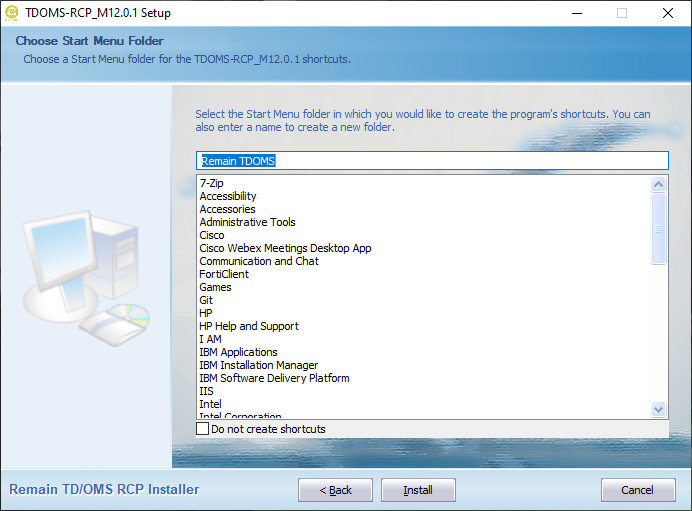
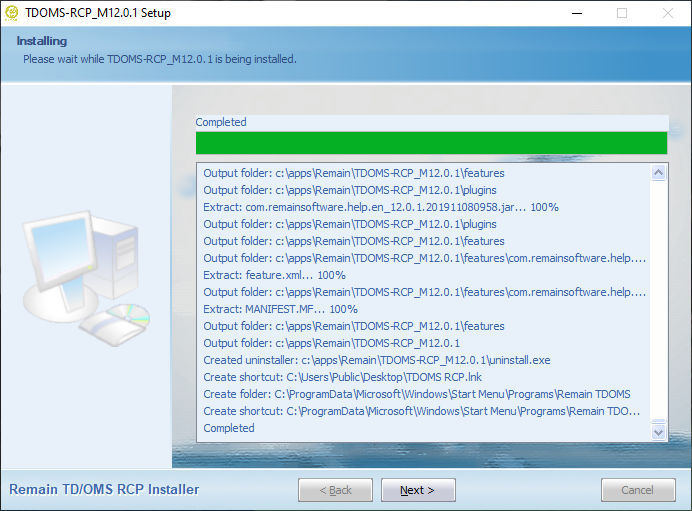
Install the TD/OMS Standalone Client
You can get the installer from our download section here. Select the Downloads button in the section of the TD/OMS version installed on your IBM i and open the folder of the relevant milestone. Look for the installer that starts with tdoms_rcp_setup_ or something similar. Once downloaded just click on the installer and follow the instructions below.
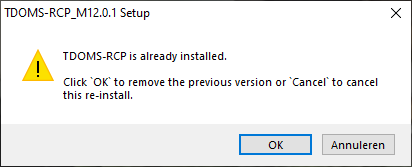
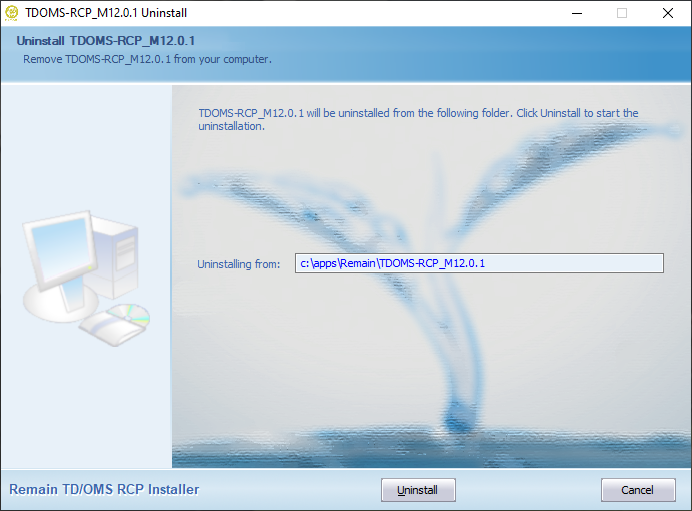
If you have a previous installation then this installation will be automatically removed from your computer before the new software is installed. Your data will not be lost but any plugins that you have installed manually must be installed again.
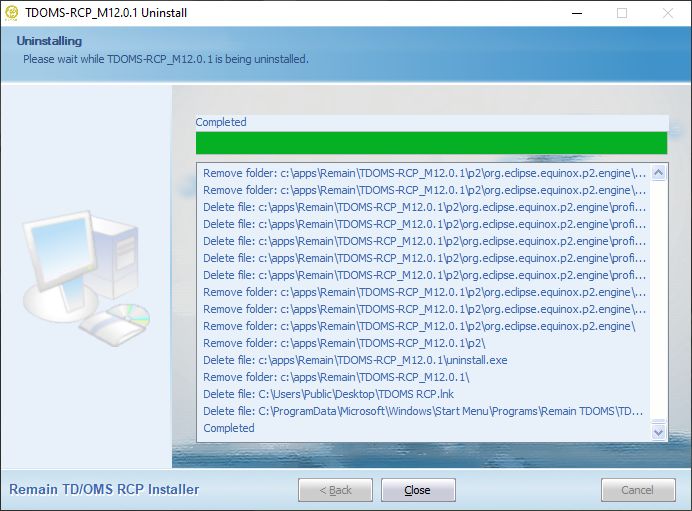
Uninstalling
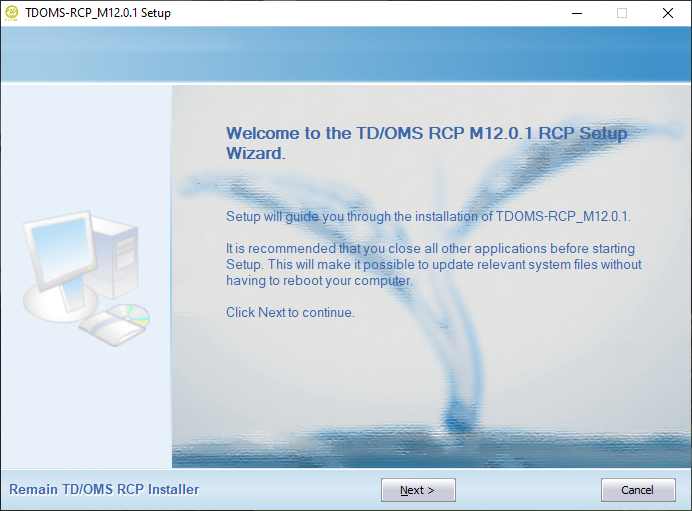
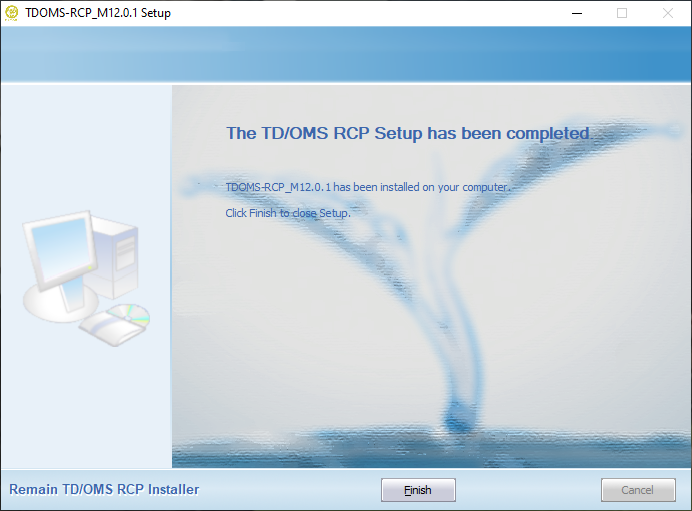
Installing
Install the TD/OMS Client inside RDi
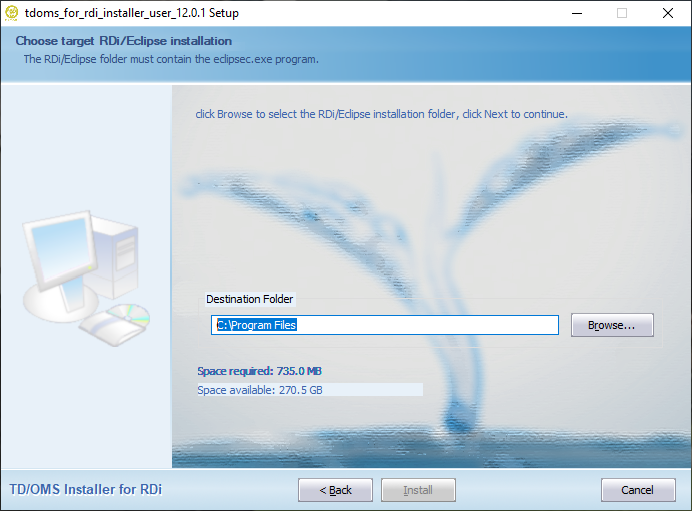
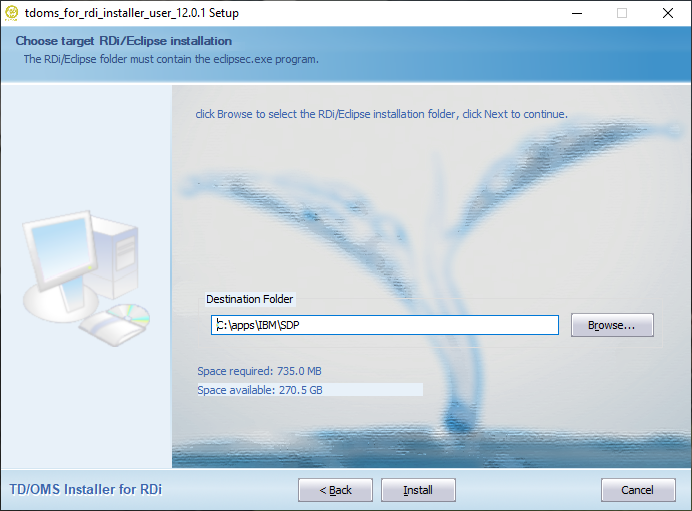
You can get the installer from our download section here. Select the Downloads button in the section of the TD/OMS version installed on your IBM i and open the folder of the relevant milestone. Look for the installer that starts with tdoms_for_rdi_installer_user_ or something similar. Once downloaded just click on the installer and follow the instructions below.
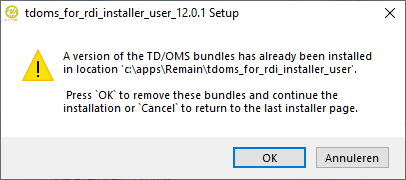
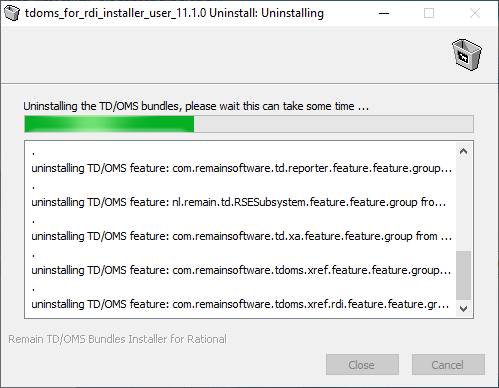
If you have a previous installation then this installation will be automatically removed from your computer before the new software is installed. Your data will not be lost but any plugins that you have installed manually must be installed again.
You can only install the client in ONE RDi installation.
If you have two or more installations of RDi you need to install the plugins using an update site. Please make sure that RDi is NOT running before you run the installer.
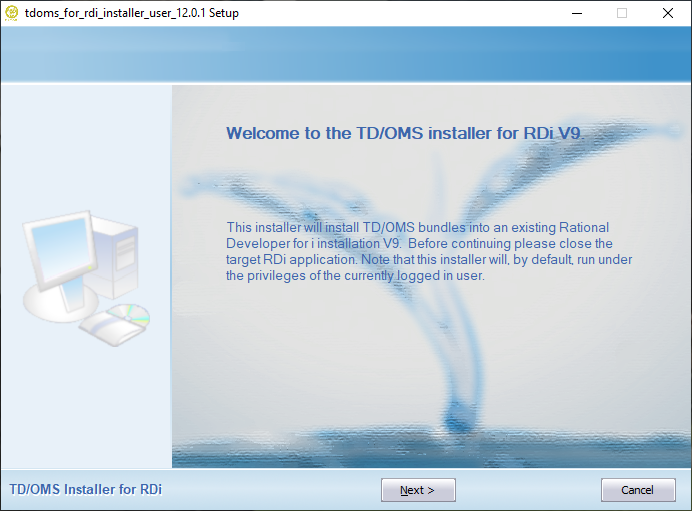
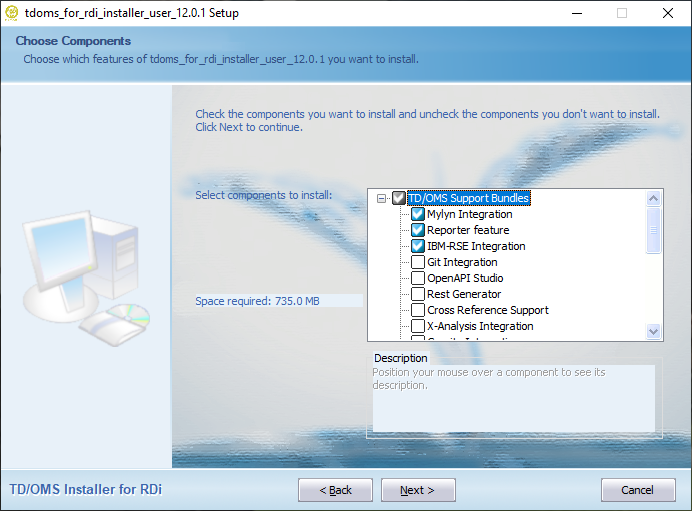
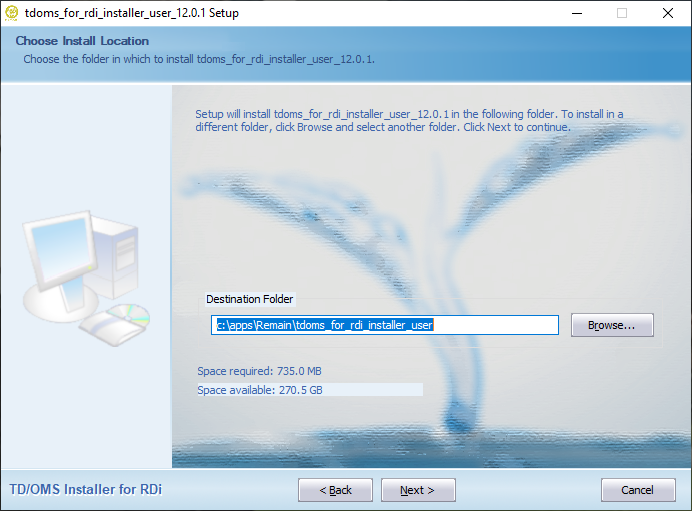
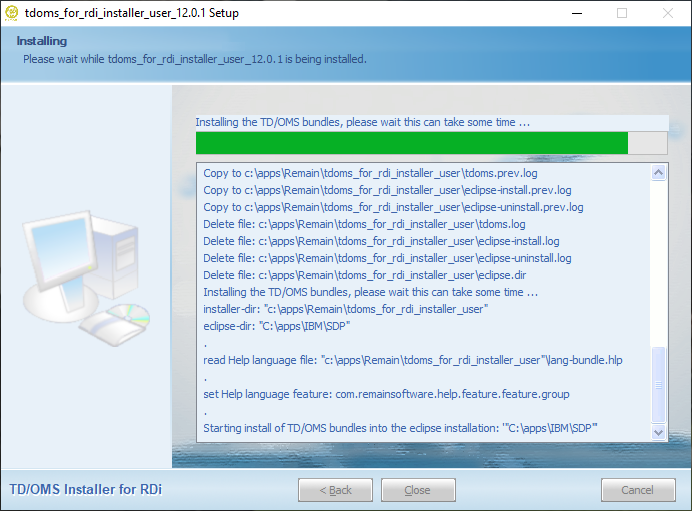
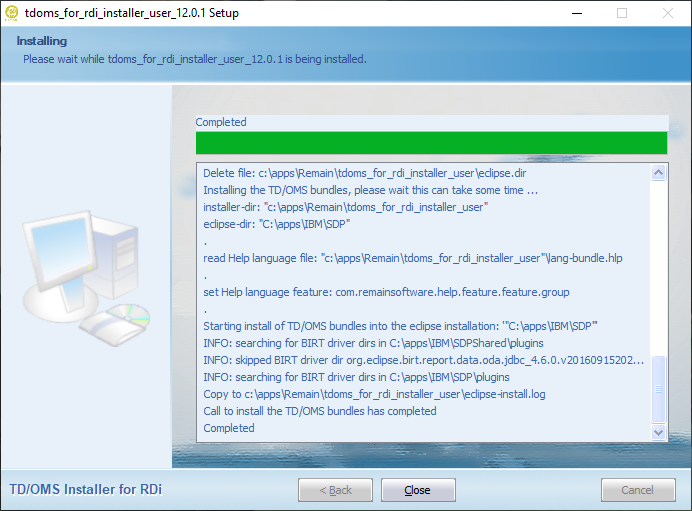
Installing the client in RDi
Install the Plugins in an Existing Eclipse Installation
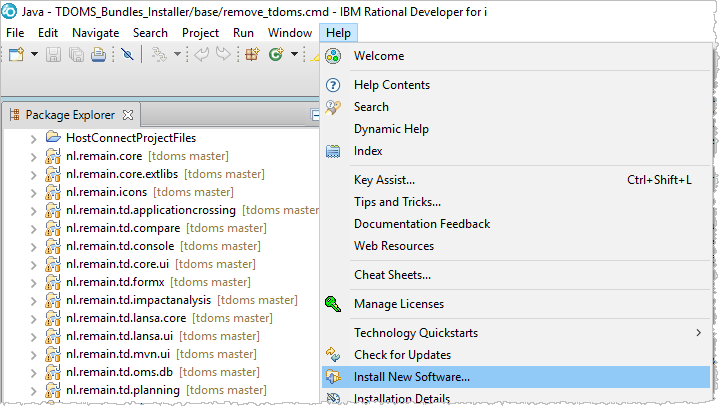
If you already have an existing Eclipse installation or if you want to install the plugins manually into RDi or any other Rational tool then download the plugins repository from the download site. Then start your Eclipse installation and select "Help/Install new Software ...". On the page that appears, create a new repository from an archive file and then select the options you want to install.
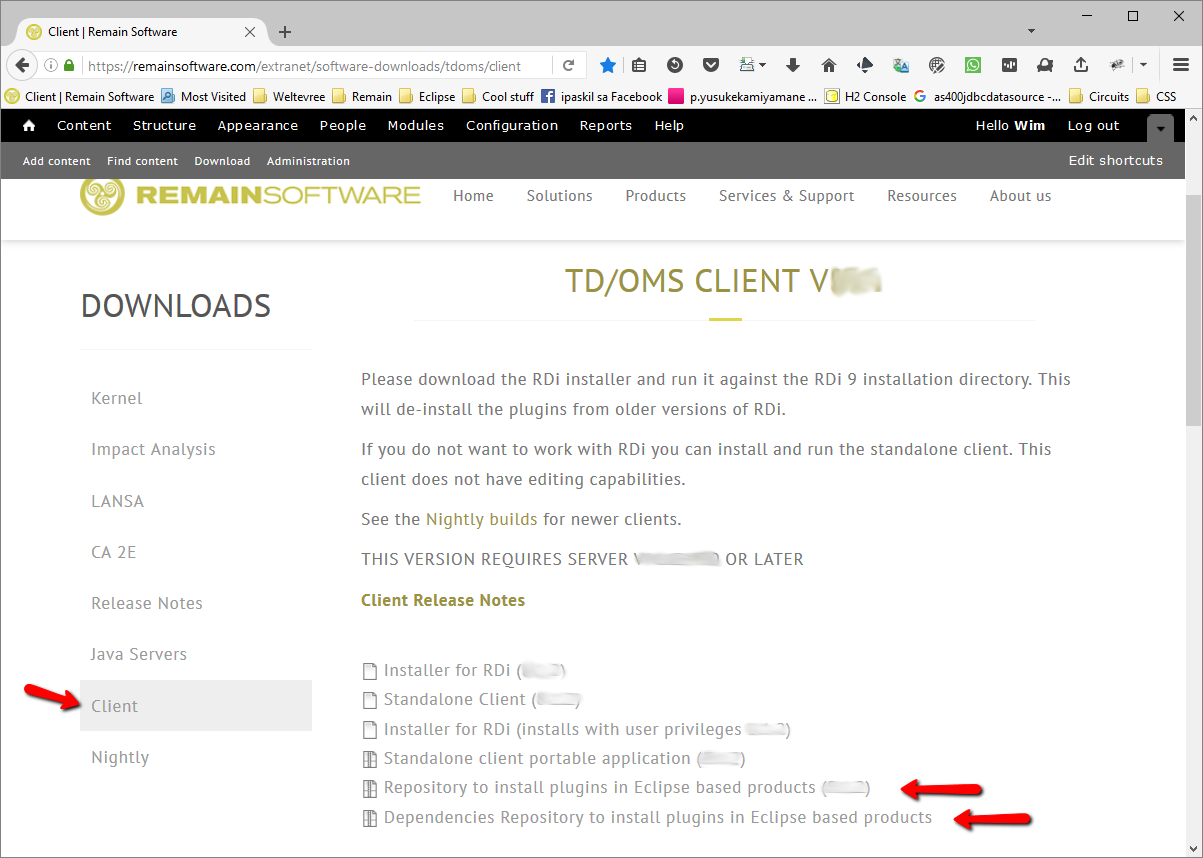
Downloading the Repositories
Download the following two repositories from the Remain download site:
- tdoms-plugins-repo-X.X.X-YYYYMMDD-xxxx.zip
- This file contains the TD/OMS plugins and this is where you install from.
- tdoms-dependencies-repo-X.X.X-YYYYMMDD-xxxx.zip
- This file contains additional dependencies needed by our plugins. For example, our reporting plugins require the BIRT framework which is typically not available in a standard Eclipse or RDi installation.
Adding the dependencies repository to Eclipse
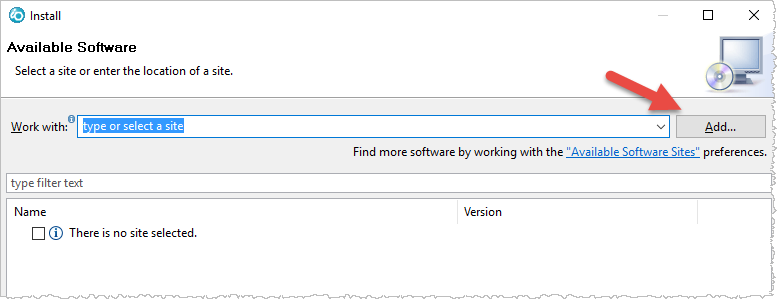
Start Eclipse or RDi and choose Install New Software... from the the Help menu.
Then press the Add... button to add the first zipped repository.
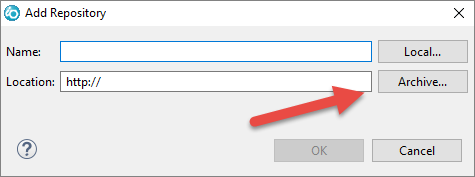
Press the Archive... button and navigate to the saved dependencies repository.
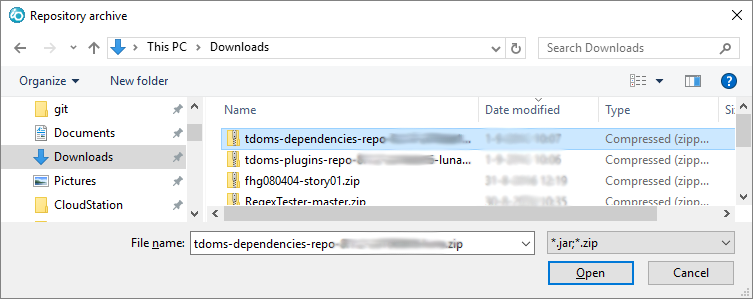
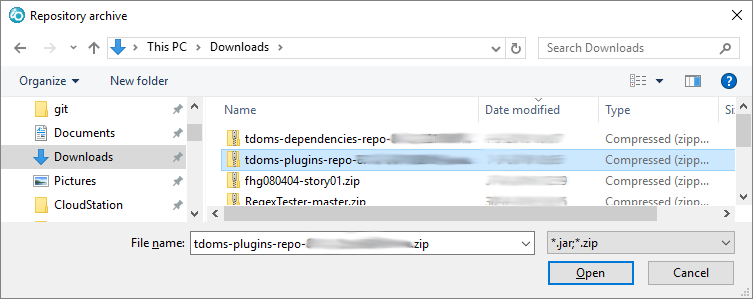
Select the downloaded dependencies zip file.
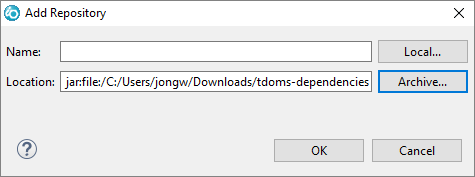
Press Ok.
Adding the plugins repository to Eclipse
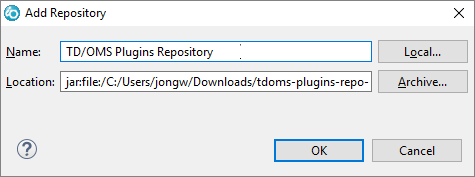
Then press the Add... button again to add the next zipped repository which contains our software.
Press the Archive... button and navigate to the saved plugins repository.
Navigate to the file
Optionally enter a name and press Ok.
Installing Software
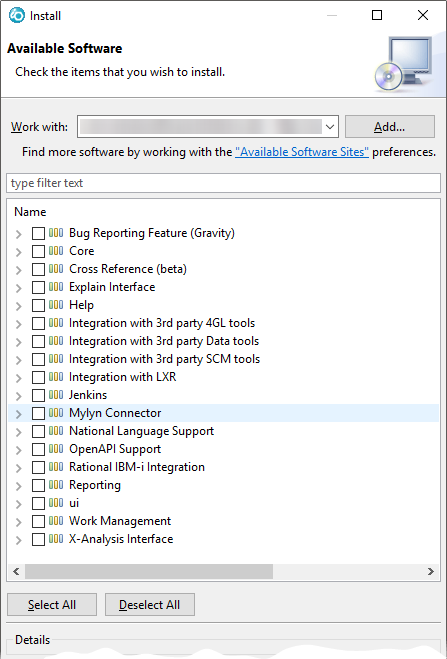
From the Available Software page, select the plugins repository from the dropdown box. The list will populate with the installable units. Select the required components from the list and press Next >.
- Bug Reporting Feature (Gravity)
- Enables you to report issues to our helpdesk. If you do not install this you can still file issues through the web interface at http://helpdesk.remainsoftware.com
- Core
- Contains the TD/OMS Core bundles. This may always be checked.
- Explain
- Contains the integration with PKS eXplain
- Help
- Expand this item to select the help in your favorite language.
- Integration with 4GL tools
- Expand this item to select the 4GL integration you want.
- Integration with 3rd Party data tools
- Expand this item to select the data tool integration you want.
- Integration with 3rd Party SCM tools
- Expand this item to select the SCM tool integration you want.
- Integration with Rest Generator
- Expand this item to select the level of REST Integration. Warning, do not install RestGen RSE into the RDi.
- Jenkins
- Expand this to install Jenkins support.
- Mylyn Connector
- Enables import of Request and Tasks into the Mylyn task list. The interface is used to integrate Java and other Eclipse based development with source repositories like git and Subversion.
- National Language Support
- Expand this to select the installation language (English is default)
- OpenAPI Support
- Select this to install the OpenAPI V3 (Swagger/OAS3) Editor support.
- Rational IBM i Integration
- Enables interfacing with RDi and RSE. This can only be installed inside RDi. TD/OMS integration with IBM's Remote System Explorer. Supports basic TD/OMS Work Management features as an RSE extension.
- Reporting
- TD/OMS Reporting function enables you to run canned reports and to create (ad-hoc) reports.
- UI (Modeled User Interface)
- Contains the modeled UI (will be included automatically when needed)
- Work Management
- REQUIRED. This is the main TD/OMS navigation GUI.
- X-Analysis Interface
- Provides the interface between TD/OMS and X-Analysis. It requires X-Analysis version 11 or higher to be installed first.
After selecting the required modules you follow the instructions of the wizard. Your plugins are available after you have restarted the client.
Updating the Software
When new software is available you can repeat the process described here. The "Available Software Sites" link in the previous image will bring you to a dialog where you can remove old repositories.
Unattended Installation in an Existing Product
An unattended or silent installation is an installation that can be performed without a user interface. This makes it an ideal tool for the devops or system admin.
Use the Headless Installation when:
- You want to script the installation of TD/OMS GUI Components;
- You have to administer many clients at once;
- You want to automate the installation and update process.
Prerequisites
The Unattended Installation requires that you have the target product already in place. This target product can be an Eclipse based installation or the IBM Rational Developer for i. For the IBM Rational Developer for i we support version 9.6 and 9.8.
In some situations it may be required to have 3rd party bundles already installed in the target environment. This is the case for example with our X-Analysis integration. This integration requires the availability of the Fresche X-Analysis product already installed in the target Eclipse installation.
We have 2 types of unattended installation procedures. An unattended install can be done by using the Eclipse P2 director or by using the silent install option available in our RDi installers.
Note that the RDi installers can also be used for any non RDi Eclipse installation. The only limitation here is that you cannot install the RSE (Remote Systems Explorer) integration in a standard or SDK Eclipse installation. Depending on the target Eclipse installation, use either the RDi 9.6 or RDi 9.8 unattended install procedure. The RDi 9.6 installer supports Eclipse installations requiring Java 8 runtime (for example Eclipse Neon), the RDi 9.8 installer expects the Eclipse installation to be supported by at least the Java 11 runtime (as of Eclipse 4.19).
Using the silent option available in the RDi installer is the most straight forward option to use and the most easily applied. Using the Eclipse P2 director will be covered here but should be reserved for installation requirements not covered by the silent installer option. Also note that P2 director does not automatically uninstall previously installed TD/OMS client features. This is something that will have to be taken care of before installing a new set of TD/OMS client features.
Unattended install with the silent option
The following TD/OMS client installers support the silent option:
tdoms_for_rdi96_installer_user_?version-date?.exe
tdoms_for_rdi98_installer_user_?version-date?.exe
Note that the installers are specific for there intended target environment, for example you cannot use the tdoms_for_rdi98_installer_user_?version-date?.exe to install the TD/OMS client in an RDi 9.6 installation, so make sure you select the correct installer for your situation. The latest installers can be found on our web site
The installers also take care of uninstalling a previously installed version of the TD/OMS client. An automatic uninstall will only take place if the installer software directory is put in the same location of a previously installed TD/OMS client installer (the installer must be able to find the uninstall executable).
Except where documented the installers utilize the same silent mechanism and options. An unattended install can be run by executing the installer executable with at least the /S parameter followed by the /ECLIPSE parameter and 1 or more optional parameters. Aside the parameters used for the choice of integrations there are parameters used to override installer/installation locations and the runtime TD/OMS client configuration directory:
/ECLIPSE - Mandatory parameter to set the directory of the target Eclipse/RDi installation.
/D - Optional parameter to set the directory to be used for the installer software.
/USERDIR - Optional parameter to set an overriding location of the TD/OMS client runtime configuration directory.
For example to run an unintended install of the TD/OMS client for an RDi 9.6 installation the following can be executed:
tdoms_for_rdi96_installer_user_?version_date?.exe /S /ECLIPSE="c:\Program Files\IBM\SDP" /USERDIR="x:\users\tom\tdoms" /D=c:\apps\remain\tdoms_client_installer"
This will install a default TD/OMS client and if applicable will have de-installed the previously installed TD/OMS client. As per /D directive, the installer software will be installed in the directory "c:\apps\remain\tdoms_client_installer" and optionally replacing any existing software in that directory.
List of available parameters
By enabling any of the available installer options the corresponding integration or TD/OMS functionality will be installed. Except for the HELP an option is enabled by setting it to YES, for example 'RSE=YES'. Note that the YES value is expected to be all capitol letters.
- /S - Mandatory parameter required to enable the installers silent mode.
- /ECLIPSE - Mandatory parameter to set the directory of the target Eclipse installation.
- /D - Optional parameter to set the directory to be used for the TD/OMS client installer software.
- /USERDIR - Overriding location for the TD/OMS client configuration, by default this is the user's home directory as determined by the operating system.
- /HELP=JA - Apply Japanese help to replace the default installed English help.
- /AZUREDEV=YES - Azure integration, only to be used on RDi 9.8.
- /BITBUCKET=YES - Bitbucket Cloud integration.
- /BITBUCKETSERVER=YES - Bitbucket Server integration (Bitbucket on premise).
- /CONNECTWISE=YES - ConnectWise integration.
- /DATASTAGE=YES - DataStage integration.
- /GIT=YES - Git integration.
- /GITHUB=YES - Github integration.
- /GITLAB=YES - GitLab integration.
- /GRAVITY=YES - Gravity integration.
- /JENKINS=YES - Jenkins integration, default for RDi 9.6, available for RDi 9.8.
- /JIRA=YES - Jira integration.
- /LANSA=YES - LANSA integration.
- /MYLYN=YES - Mylyn integration.
- /NLS=YES - Add National Language.
- /OAS3=YES - Add Remain API Studio, requires a license.
- /OTRS=YES - OTRS integration.
- /REPORTER=YES - Add TD/OMS Issue Reporter.
- /RESTGEN=YES - Add the TD/OMS Rest Generator.
- /RMTDISTR=YES - Add Remote Distribution support.
- /RSE=YES - Integration with the IBM Remote Systems Explorer, only to be used on RDi installations.
- /SERVICEDESK=YES - ServiceDesk integration.
- /SERVICENOW=YES - ServiceNow integration.
- /SONARQUBE=YES - SonarQube integration.
- /XA=YES - X-Analysis integration.
- /XREF=YES - Xref integration.
- /ZENDESK=YES - ZenDesk integration.
The following example will install the TD/OMS client in an RDi 9.6 installation located in the directory "C:\Program Files\IBM\SDP". As only integration the RSE will be installed and the TD/OMS client installer will be installed in the default location "C:\Apps\Remain\tdoms_for_rdi_installer".
tdoms_for_rdi96_installer_user_?version-date?.exe /S /ECLIPSE="C:\Program Files\IBM\SDP" /JIRA=YES /XREF=YES
The following example will install the TD/OMS client in an RDi 9.8 installation located in the directory "C:\Apps\IBM Rational Developer for i". The TD/OMS client installer will be installed in the default location "C:\Apps\Remain\tdoms_for_rdi98_installer" and RSE will be the only installed TD/OMS client integration.
tdoms_for_rdi98_installer_user_?version-date?.exe /S /ECLIPSE="C:\Apps\IBM Rational Developer for i" /JIRA=YES /XREF=YES
To start an unattended installation so that it will run as a background process you can do the following from a Windows batch file (for example):
start "" /WAIT tdoms_for_rdi96_installer_user_?version-date?.exe /S /ECLIPSE="c:\Program Files\IBM\SDP" /RSE=YES /SERVICENOW=YES /XA=YES
Installation results
In the case of an installation failure, the result of an unattended (or attended) install will have been logged in the tdoms.log and eclipse.log. Both files are located in the root of the installer directory. The tdoms.log contains the specific RDi/Eclipse install actions and results. The eclipse.log contains the output of the RDi/Eclipse application for the time the unattended install is running.
Unattended install using the P2 Director
Using the Eclipse P2 director it also also possible to add bundles to an RDi/Eclipse location without the use of the Eclipse IDE.
Scenario 1: Install the base plugins into RDi
This scenario assumes you have
- an existing RDi installation, fro example RDi 9.6 in C:\Program Files\IBM\SDP;
- downloaded the plugins repository in c:\apps\tdoms\tdoms_plugins.zip;
- downloaded the dependencies in c:\apps\tdoms\tdoms_dependencies.zip.
Execute the following command:
 "C:\Program Files\IBM\SDP\eclipsec.exe"
    -application org.eclipse.equinox.p2.director
    -noSplash
    -repository jar:file:/c:\apps\tdoms\tdoms_dependencies.zip!/,jar:file:/c:\apps\tdoms\tdoms_plugins.zip!/
    -installIU com.remainsoftware.core.feature.feature.group
    -installIU nl.remain.td.workmanagement.feature.feature.group
    -installIU com.remainsoftware.help.feature.feature.group
    -installIU com.remainsoftware.net.dialog.feature.feature.group
    -installIU com.remainsoftware.td.distribution.remotelocation.feature.feature.group
    -installIU com.remainsoftware.planning.feature.feature.group
    -installIU com.remainsoftware.impactanalysis.feature.feature.group
    -installIU com.remainsoftware.reporting.feature.feature.group
    -installIU nl.remain.td.team.feature.feature.group
    >> c:\apps\tdoms\tdoms.log 2>&1
The result of the command is written to the log file c:\apps\tdoms\tdoms.log for further examination. See a full example of a windows shell script here
Note, the above example script will need to be adapted as it is now presented without line continuation characters (in DOS batch you can use the caret ^)
To first uninstall a feature before installing you can use -uninstallIU.
A minimal TD/OMS client installation should contain the following installation units: nl.remain.td.workmanagement.feature.feature.group, com.remainsoftware.core.feature.feature.group, com.remainsoftware.help.feature.feature.group and nl.remain.td.team.feature.feature.group
All available features
Below is the list of features available for the installation of the TD/OMS client.
Main TD/OMS features required for a minimal TD/OMS client installation
- TDOMS-Core
- com.remainsoftware.core.feature.feature.group
- Workmanagement
- nl.remain.td.workmanagement.feature.feature.group
- Help-English
- com.remainsoftware.help.feature.feature.group
- Teaming
- nl.remain.td.team.feature.feature.group
Optional TD/OMS features
- AiChat
- com.remainsoftware.chat.feature.feature.group
- AzureDevops
- com.remainsoftware.td.tracker.azuredevops.feature.feature.group, only to be installed in RDi 9.8 or Eclipse equivalent
- ConnectWise
- com.remainsoftware.td.tracker.connectwise.feature.feature.group
- Bitbucket-Cloud
- com.remainsoftware.td.tracker.bitbucket.feature.feature.group
- Bitbucket-On-Premise
- com.remainsoftware.td.tracker.bitbucket.server.feature.feature.group,
- BIRT-Reporting
- com.remainsoftware.reporting.feature.feature.group, only to be installed in RDi 9.6 or Eclipse equivalent
- DataStage
- com.remainsoftware.datastage.command.feature.feature.group
- Git
- com.remainsoftware.td.git.feature.feature.group
- Github
- com.remainsoftware.td.tracker.github.feature.feature.group
- GitLab
- com.remainsoftware.td.tracker.gitlab.feature.feature.group
- Gravity
- com.remainsoftware.td.tracker.gravity.feature.feature.group
- Help-Japanese
- com.remainsoftware.help.ja.feature.feature.group
- Impact-Analysis
- com.remainsoftware.impactanalysis.feature.feature.group
- Issue-Reporter
- com.remainsoftware.td.reporter.feature.feature.group
- Jira
- com.remainsoftware.td.tracker.jira.feature.feature.group
- Jenkins
- com.remainsoftware.jenkins.feature.feature.group
- LANSA
- com.remainsoftware.lansa.feature.feature.group
- Mylyn
- com.remainsoftware.mylyn.connector.feature.feature.group
- Maven
- com.remainsoftware.td.maven.feature.feature.group
- Mylyn
- com.remainsoftware.mylyn.connector.feature.feature.group
- Net-Dialog
- com.remainsoftware.net.dialog.feature.feature.group
- NLS-French
- com.remainsoftware.tdoms.nls.fr.feature.feature.group,
- NLS-German
- com.remainsoftware.tdoms.nls.de.feature.feature.group
- OTRS
- com.remainsoftware.td.tracker.otrs.feature.feature.group
- Planning
- com.remainsoftware.planning.feature.feature.group
- Remain API Studio
- com.remainsoftware.oas3.feature.feature.group
- Remote-Location-Distribution
- com.remainsoftware.td.distribution.remotelocation.feature.feature.group
- Remote System Explorer-for-RDi
- nl.remain.td.RSESubsystem.feature.feature.group, only to be installed in RDi
- Restgen-for-RDi
- com.remainsoftware.restgen.rdi.feature.feature.group
- ServiceDesk-Plus
- com.remainsoftware.td.tracker.servicedeskplus.feature.feature.group
- ServiceNow
- com.remainsoftware.td.tracker.servicenow.feature.feature.group
- SonarQube
- com.remainsoftware.td.tracker.sonarqube.feature.feature.group
- Xref
- com.remainsoftware.tdoms.xref.feature.feature.group
- Xref-for-RDI
- com.remainsoftware.tdoms.xref.rdi.feature.feature.group, only to be installed in RDi
- X-Analysis
- com.remainsoftware.td.xa.feature.feature.group
- Zendesk
- com.remainsoftware.td.tracker.zendesk.feature.feature.group
Headless Installation of TD/OMS Stand Alone Client
The TD/OMS Stand Alone Client can be downloaded as a zip file. It is a portable application so it can be installed anywhere by just unzipping the file.
The file you are looking for has the following syntax:
tdoms-rcp-x86-V.R.M-YYYYMMDD-eclipsename.zip
For example:
tdoms-rcp-x86-8.0.3-20160509-luna.zip

