
Install the TD/OMS Client inside RDi
You can get the installer from our download section here. Select the Downloads button in the section of the TD/OMS version installed on your IBM i and open the folder of the relevant milestone. Look for the installer that starts with tdoms_for_rdi_installer_user_ or something similar. Once downloaded just click on the installer and follow the instructions below.
If you have a previous installation then this installation will be automatically removed from your computer before the new software is installed. Your data will not be lost but any plugins that you have installed manually must be installed again.
You can only install the client in ONE RDi installation.
If you have two or more installations of RDi you need to install the plugins using an update site. Please make sure that RDi is NOT running before you run the installer.
Installing the client in RDi
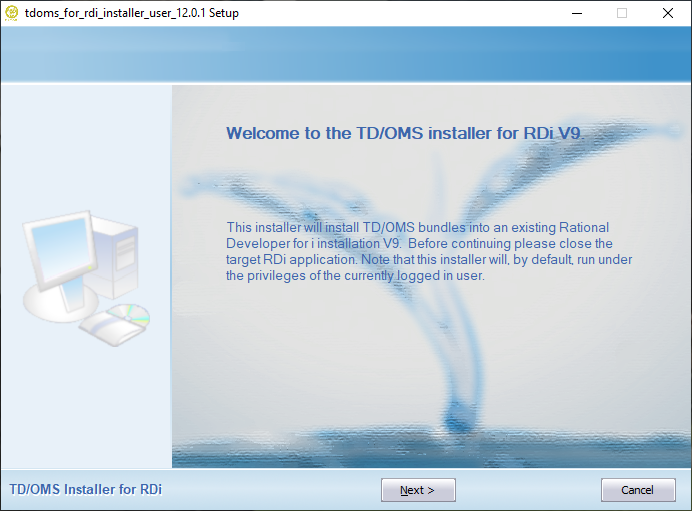
| When you start the wizard you get a set of instructions about how to operate it. Press Next.
|
|
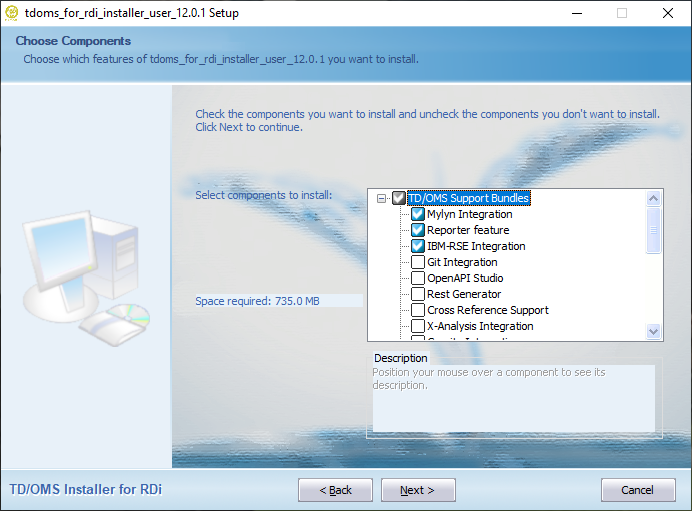
If there are other options available in this installer you can set them on this page. Please hoover over each entry to obtain additional information about that entry. When in doubt, select the defaults.
- Mylyn
- Installs the interface between TD/OMS Tasks and Mylyn Tasks. Useful for Java and Web developers.
- Reporter
- Installs the integration with BIRT
- IBM-RSE
- Installs TD/OMS in the Remote System Explorer
- GIT
- Installs the GIT integration
- X-Analysis
- Installs the X-Analysis integration. X-Analysis must be installed prior
- Gravity
- Installs the Gravity integration
- JIRA
- Installs the JIRA integration
- GitHub
- Installs the GitHub integration
- GitLab
- Installs the GitLab integration
- ServiceNow
- Installs the ServiceNow integration
- OTRS
- Installs the OTRS integration
- LANSA
- Installs the LANSA client. Only useful for LANSA users
- DataStage
- Installs the DataStage interface. Only useful for DataStage users
|
|
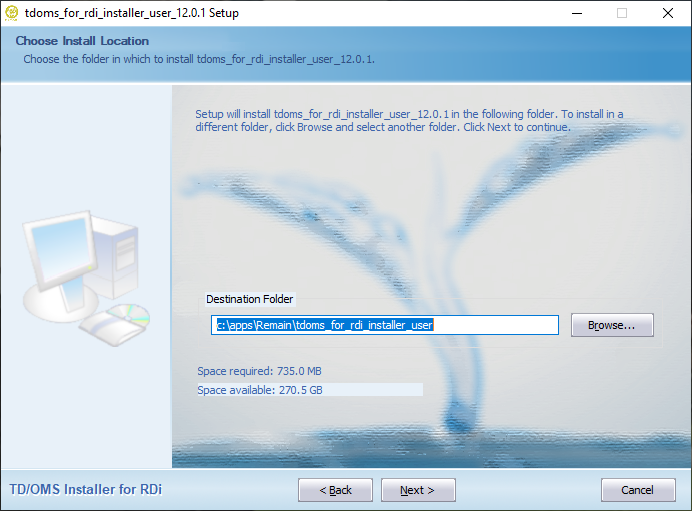
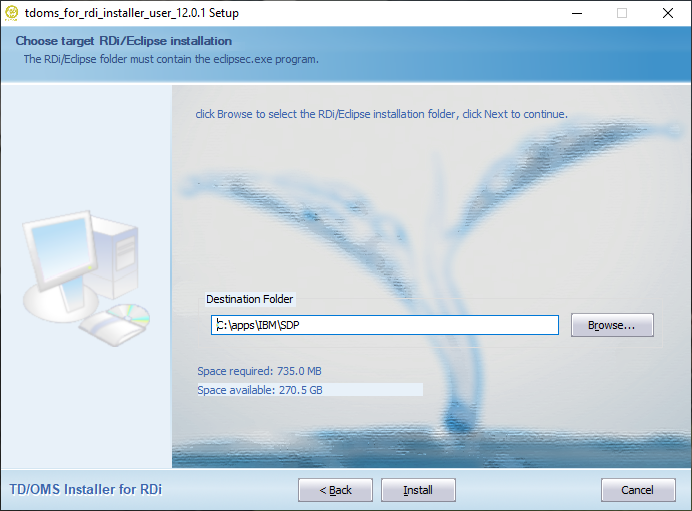
| The next page will give you the opportunity to change the installation location. Select the defaults when you are in doubt.
|
|
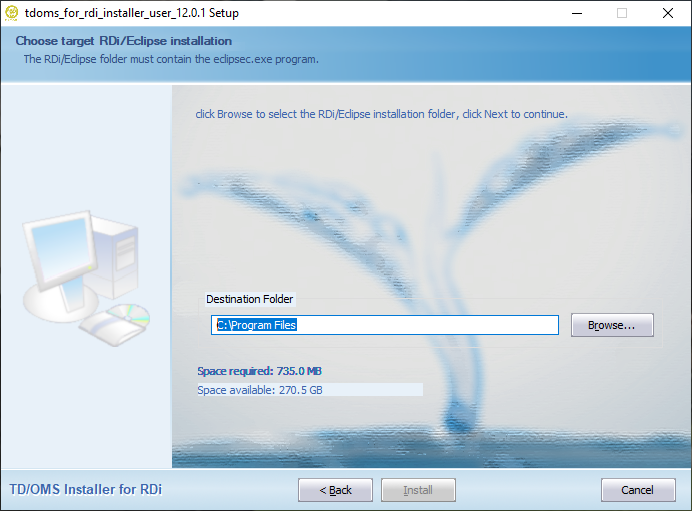
| If you have more than one RDi installation, the text field only contains a partial path to the target client. Press Browse to browse to the correct directory as indicated in the next screen.
|
|
| If you have one RDi installation or you have selected a correct path where RDi can be found then the Install button will be available.
|
|
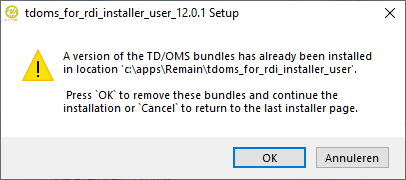
| The installer detects if the software is already installed. Press OK if you want to continue the wizard to uninstall the old version of the software.
|
|
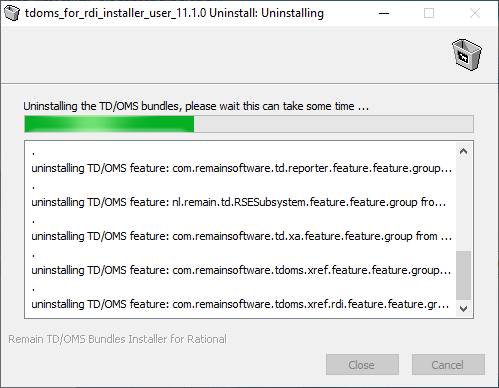
| Press Uninstall to start the removal of the old version. You cannot harm any saved data. This is always stored outside the installation location.
|
|
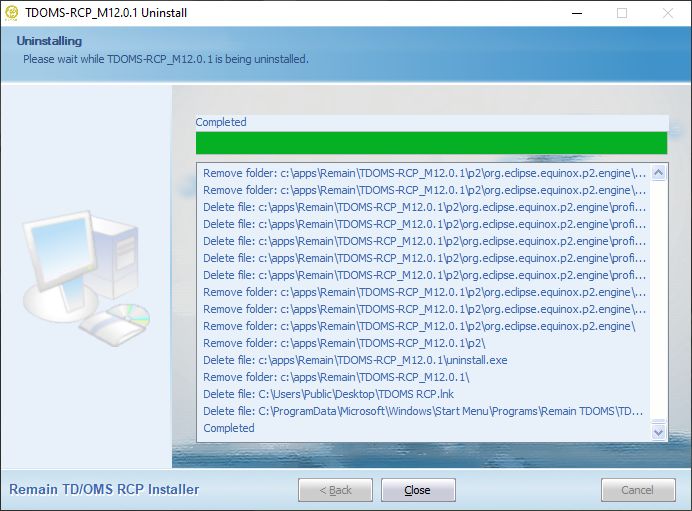
| After all components are removed you can Close the uninstall wizard. Please note that this can take a while.
|
|
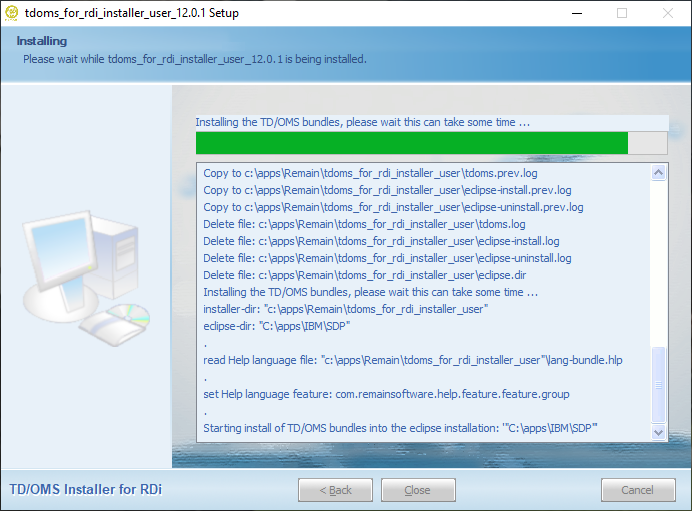
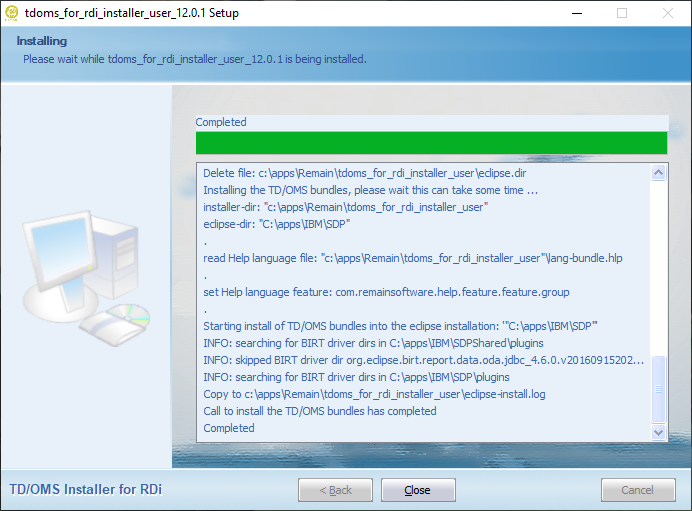
| Wait until the installer finishes the installation. Then press Next.
|
|
| The final confirmation page informs you of a failed or successful installation. Press Finish. Start RDi to run with the TD/OMS client.
|
|


